
Interior design trends constantly evolve, but some classic elements possess a timeless appeal that never fades. Wall panelling is one such feature, capable of adding depth, character, and a sense of luxury to any room. Historically, installing panelling was a complex and expensive job reserved for skilled carpenters. Today, however, the rise of the DIY panelling kit has made this sophisticated design element accessible to everyone. These convenient kits provide all the necessary components and simplify the process, allowing homeowners to create stunning feature walls with professional-looking results.
This guide will serve as your comprehensive resource for understanding and using a panelling kit to transform your living space. We will delve into the benefits of this modern approach, explore the variety of styles available, and offer step-by-step advice on everything from planning to finishing. Whether you are aiming to create a cozy, traditional feel or a sharp, contemporary look, a panelling kit offers the flexibility to achieve your design goals. Prepare to unlock your inner designer and give your walls a remarkable upgrade.
The Appeal of the All-in-One Kit
One of the greatest advantages of choosing a panelling kit is the sheer convenience it offers. Instead of sourcing individual strips of wood or MDF, calculating complex cuts, and worrying about mismatched materials, a kit provides you with perfectly coordinated, pre-cut components. This eliminates much of the guesswork and potential for error, which is especially beneficial for those new to DIY projects. Everything you need for the core structure of your design arrives in one package, streamlining the entire process from start to finish.
Furthermore, these kits are designed for accessibility. The materials, most commonly MDF (Medium-Density Fibreboard), are lightweight and easy to handle. The pre-cut nature of the strips means you will only need to make simple adjustments for length, rather than intricate angled cuts. This not only saves a significant amount of time but also reduces the need for specialized and expensive tools. The result is a project that is less intimidating and more achievable for the average homeowner, empowering you to take on a transformative home improvement task with confidence.
Finding the Style That Suits Your Home
A panelling kit is not a one-size-fits-all solution; they come in a multitude of styles to suit diverse tastes and interior aesthetics. The design you choose will set the tone for the entire room, so it is important to select one that complements your home’s existing character. From ornate traditional patterns to sleek, minimalist designs, there is a kit to help you realize your specific vision. Many online suppliers categorize their kits by style, which simplifies the browsing process.
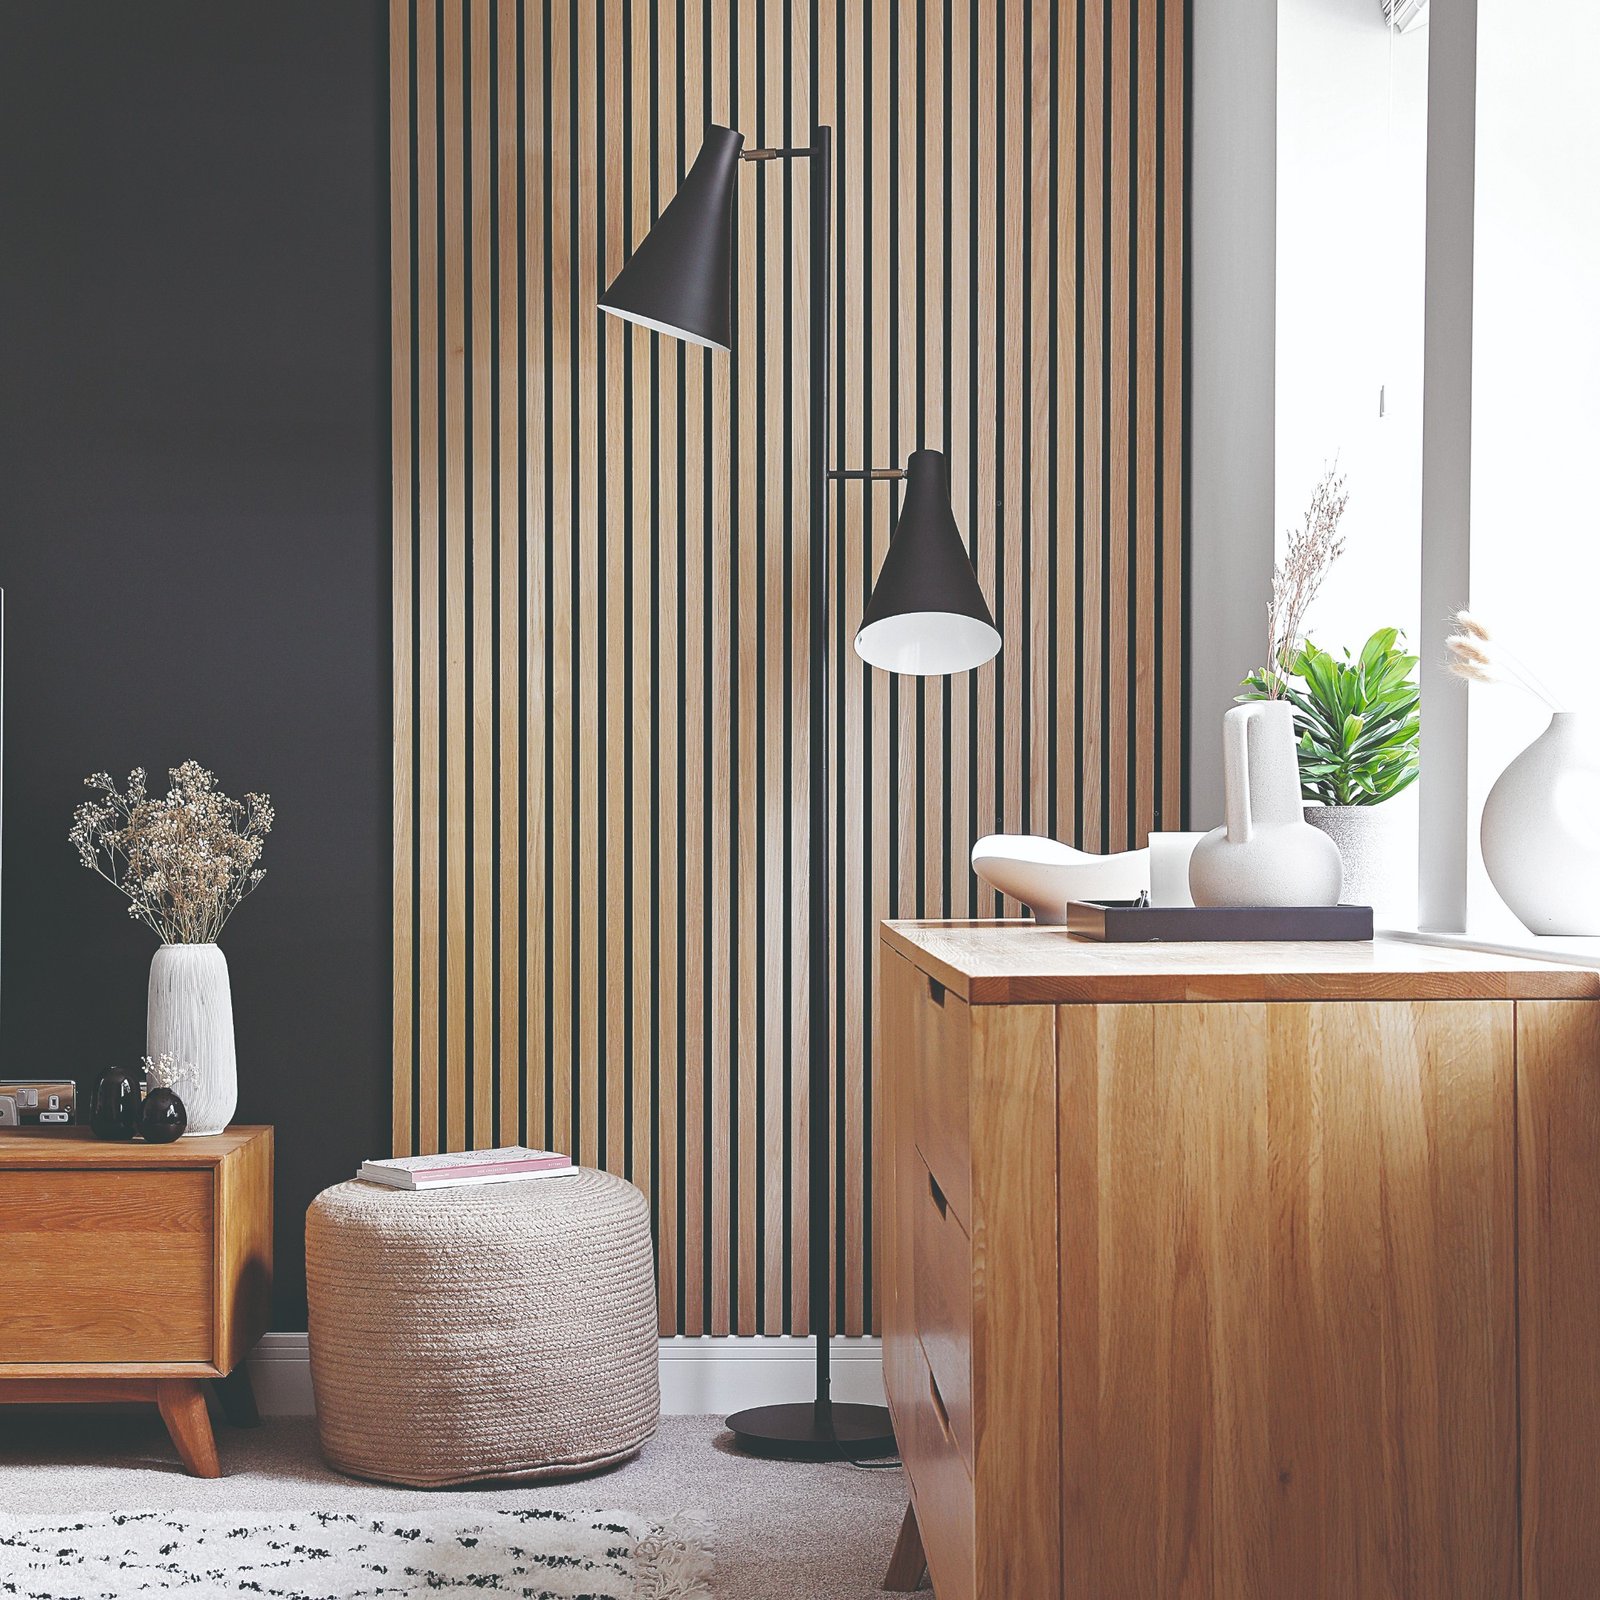
For a look that exudes classic elegance, consider styles like Shaker or Jacobean. Shaker panelling, known for its clean, rectangular frames, offers a timeless and versatile look that suits almost any room, from bedrooms to living areas. Jacobean panelling, with its more intricate grid of smaller squares, creates a sense of grandeur and history, making it a fantastic choice for formal dining rooms, hallways, or studies. If your style leans more modern, you might gravitate towards Slat wall panelling for a textured, linear effect, or a simple board and batten design for a clean, geometric look that adds interest without feeling fussy.
Planning and Measuring for Perfection
A successful panelling project begins with meticulous planning and accurate measurements. Before you even think about ordering your kit, you must determine the precise dimensions of the wall you intend to decorate. Use a steel tape measure to find the wall’s total height and width. Because few walls are perfectly plumb and level, take measurements at several different points and use the largest figures to ensure complete coverage. This simple step prevents the frustration of being short on materials mid-project.
Once you have the overall dimensions, you must plan the layout of your chosen panelling style. This involves deciding on the height of the panelling (if not covering the full wall) and the spacing between the individual strips. We recommend drawing a simple diagram of the wall, marking out the placement of each horizontal and vertical piece. This visual guide will not only help you calculate how much material you need but will also be an invaluable reference during installation. Remember to always add a contingency of 10-15% to your material order to account for any cutting errors or adjustments.
Preparing Your Wall for a Flawless Finish
Proper preparation of the wall surface is a critical step that should not be overlooked. A clean, smooth foundation is essential for ensuring the panelling adheres correctly and the final result looks seamless. Begin by thoroughly cleaning the wall to remove any dust, dirt, or grease. Any existing imperfections, such as cracks, dents, or old nail holes, should be filled with a suitable filler. Once the filler is completely dry, sand the repaired areas until they are smooth and flush with the rest of the wall.
After the wall is clean and smooth, the next preparatory step is to transfer your design from your paper plan onto the wall itself. Using a pencil, a spirit level, and your tape measure, carefully draw guidelines for where each strip of the panelling kit will be placed. A spirit level is non-negotiable here; it ensures every line is perfectly horizontal or vertical, which is key to a professional-looking outcome. This methodical approach removes all guesswork from the installation process, allowing you to apply the panels with precision and confidence.
Installation and Finishing Touches
With your wall prepped and marked, you are ready for the most satisfying part of the project: installation. The most common and reliable method for attaching MDF panelling strips is with a combination of strong grab adhesive and small nails or pins. Apply a zigzag bead of adhesive to the back of a strip, press it firmly onto the wall along your guideline, and then use a nail gun or hammer to add a few pins for extra security while the adhesive cures. Work your way through your design, piece by piece, until the entire pattern is assembled on the wall.
Once the adhesive has fully dried, it is time for the finishing touches that will elevate your project from good to great. Use a decorator’s caulk to fill the thin gap along the top edge of the panelling and at any internal corners or joints between strips. This creates a seamless, integrated look. Any nail holes can be filled with wood filler and sanded smooth once dry. Finally, apply a coat of primer to the entire panelled surface, followed by two coats of your chosen paint color. This final step unifies the entire installation, resulting in a stunning feature wall that adds undeniable character and value to your home.